Examples for Screw Automatic Measurement
Benefits
1. The measurement of pitch diameter of the threaded gauge has an error range of within ±3µm compared to the full range of threaded gauges.
2. The inspection data for outer diameter, inner diameter, pitch diameter, pitch, and flank angle can be measured and output in a matter of seconds.
Background of the Application
Our customer is a leading global supplier of high-end bicycle components, employing over 100 developers who specialize in design, development, manufacturing, and sales. Their mechanical threads are fine, and they must use many bolt gauges for inspection during production. Managing the precision and wear of these gauges is critical. In the past, pitch diameter measurement was performed in a certified laboratory, which was costly and inefficient.
Solution
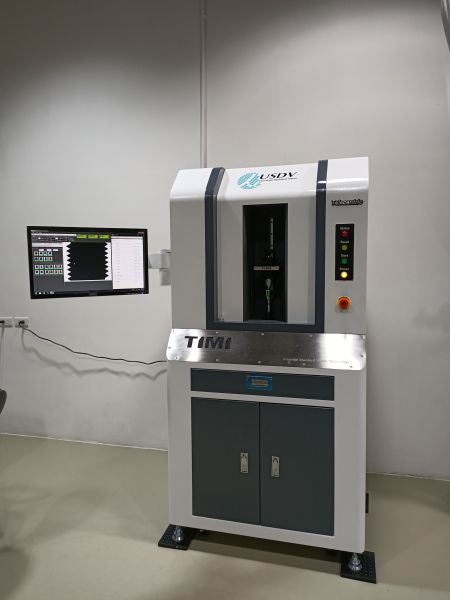
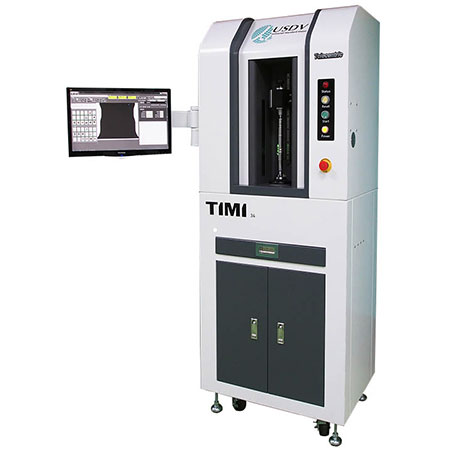
To address this, we propose the following solution. We recommend using the TIMI 30P precision telecentric image measuring instrument, which can simulate the measurement method of three-wire gauges to calculate pitch diameter and perform non-contact automatic measurement. By comparing results with the plug gauge, we can directly obtain accurate measurements with a precision of 1µm and only ±2µm measurement uncertainty.
Features
The majority of the mechanical threads used in bicycle fasteners are fine threads, necessitating the numerous inspection by gauges throughout production. Yet, since the contact inspection of plug gauge is a wearing issues and only get GO/NOGO result. They must be examined for their pitch diameter, which is mostly determined by three-wire gauges. In addition, variations in particular operations greatly increase measurement uncertainty. Thus, a quick and accurate measurement tool is required.
Solution and Features
By comparing results with the plug gauge, we can directly obtain accurate measurements with a precision of 1µm and only ±2µm measurement uncertainty.


