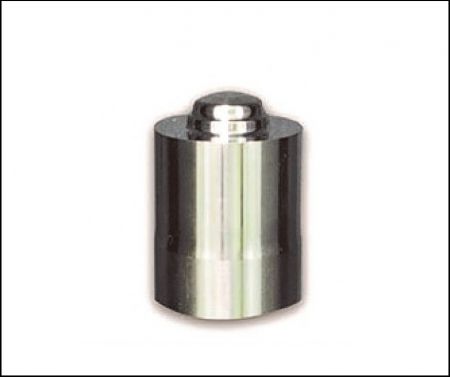
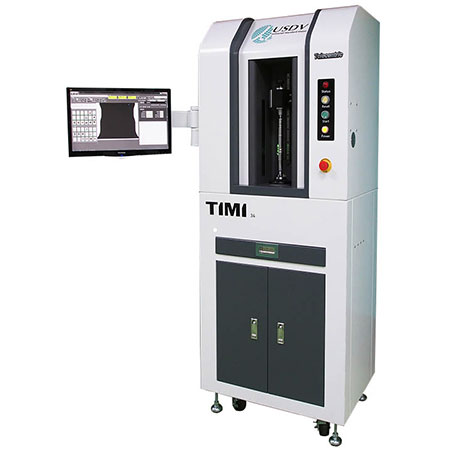
Measurement of Punch Heads
(Auto-Type; TIMI 30A/ 40A)
Measurement of punch heads completed in 10 seconds.
Hundreds of punch heads can be inspected in one hour. It can be used in mass production inspection and be cost-effective.
Background of the Application
The measurement of the punch head is very challenging, especially measuring the arc radius. Actually, the profile of a punch head is the combination of many arcs and lines. The arc image will become vaguer when it is close to the cylinder’s edge, and the measuring uncertainty will also be larger. So we need a more powerful detecting capability for arc radius.
Solution
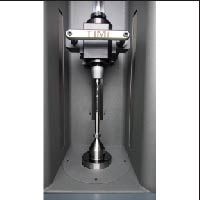
TIMI 30A/TIMI 40A automatic type measuring machine can show the complete profile of the punch head and analyze all the sizes.
Features
One View to see the whole punch head, automatically analyzing all the sizes along the contour of the punch head.
Quick measurement function of a variety of arc and line combinations, and the arc radius can be measured in seconds.
Detect the starting point and end point of the arc for estimating the height and width of the segment. It is suitable for the inspection of punch contour.
Benefits
In tradition, measuring a punch takes tens of minutes by 2.5D Image Measuring Machine. Introducing TIMI 30A/ 40A measuring machine, it only takes a few seconds to complete the measurement. That is, you can check hundreds of punches in one hour. In terms of labor and time saving, production efficiency and quality improvement are significant.

