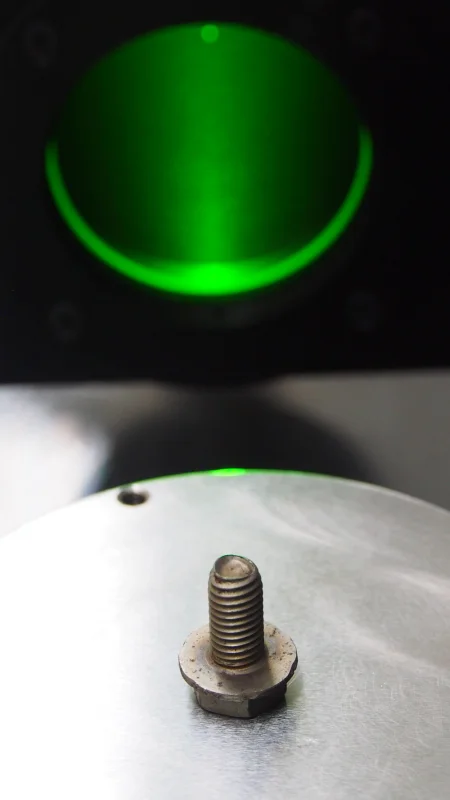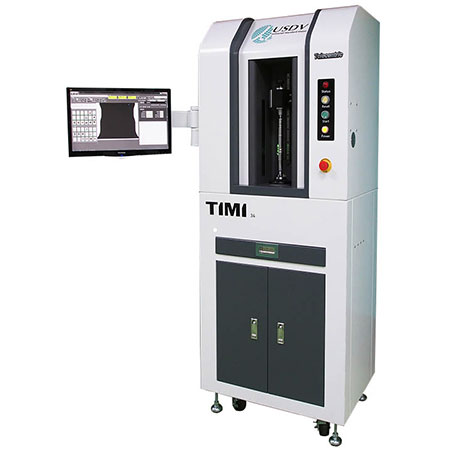
TIMI’s proprietary imaging auto-system measures the unique C and D dimensions of tri-lobular screws in under 10 seconds, ensuring accurate process capability data and effective quality control.
Smart Inspection of Tri-Lobular Screws
AI-Powered Dimensional Inspection for Tri-Lobular Screws
Tri-lobular screws are widely used in home appliances, electronics, and automotive applications. Their unique trilobular thread design enables self-tapping into metal, delivers excellent anti-loosening and anti-vibration performance, and enhances fastening reliability. Globally, over a hundred manufacturers are licensed to produce TAPTITE screws, and Taiwan, as the “Kingdom of Screws,” is home to dozens of such authorized factories.
Due to the unique geometry of trilobular threads, key design dimensions such as C and D must be verified using specially designed contact gauges. As Y Company expanded production of trilobular screws, traditional contact measurement tools could no longer meet the quality control needs of modern production lines. As a result, Y Company adopted TIMI’s automated optical measurement system across both lab and shop floor environments.
Recommended Product : Desktop Image Measuring Machine
Challenges
Inability to Effectively Control Process Capability
- V-type indicators showed poor repeatability and reproducibility (R&R).
- This hindered accurate and reliable evaluation of process capability.
- Measurement variations led to inconsistent quality assessments.
High Measurement Uncertainty Using V-Type Indicators
- Measurement errors may occur if the thread geometry deviates from an ideal equilateral triangle.
- Such deviations can lead to misjudgments in critical dimensions, such as the C and D values.
Slow and Labor-Intensive Contact Measurement
- Manual measurement results vary depending on operator skill level.
- Contact-based gauges degrade with use, frequent calibration is required to maintain gauges reliability.
Solution
After implementing the TIMI system, Company Y achieved significant improvements in on-site inspection of tri-lobular screws.
Customer Feedback
“Previously, we experienced significant quality issues in night-shift production, prompting us to reduce night operations. Since implementing TIMI’s automated inspection for trilobular screws, both day and night shift quality has greatly improved. Overseas clients have consistently praised our quality improvements, and we’ve secured several new orders as a result.”
— Executive Management Team Member, Y Company
| Metric | Before TIMI | After TIMI |
|---|---|---|
| Per-part measurement time | 2-5 min | Approx. 10 |
| Measurement positions | One position | Three positions (incl. lead) |
| Process capability review | Inconsistent or unclear | Reliable evaluation data |
| Measurement uncertainty | > 0.01 mm | < 0.01 mm |
| Quality control method | Manual gauge checks | Digital measurement system |
Value Highlights
- Transitioned from manual to automated inspection and machine-based evaluation/ system-driven judgment for trilobular screws.
- Upgraded from lab-based sampling to in-line full-scale inspection.
- Gained full visibility into process capability, increasing yield and competitiveness.


