Thread Plug Gauge Automatic Measurement
A three-line gauge to measure plug gauges? There’s a Smarter Way.
S Company, a global leader in high-end bicycle components, ranks among the top private-label suppliers in the premium market. Their product lines include drivetrains, suspension systems, wheelsets, and electronic shifting systems.
With a dual structure of in-house production and supplier collaboration, S Company imposes strict requirements on internal thread dimensions and fit tolerances. Across both their own facilities and supply chain, thread plug gauges are widely used for incoming and in-process inspections to ensure assembly quality and on-time delivery.
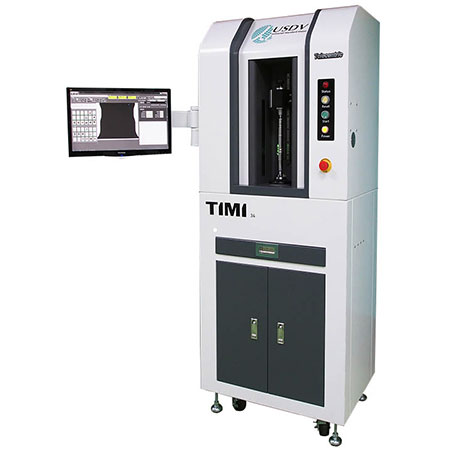
Recommended Product : Desktop Image Measuring Machine
Challenges
Difficulty in Quantifying and Tracing Thread Plug Gauge Wear
- Pitch diameter inspections of thread plug gauge still rely on traditional three-line gauges.
- Each measurement takes about 5 minutes per thread plug gauge.
- Heavy dependence on technician experience leads to inconsistent results.
- Difficult to quantify gauge wear, making quality control less reliable.
- Internal thread quality is compromised, risking downstream issues.
- Labor and plug gauge consumption increase, raising operational costs.
High Calibration and Dispute Costs
- Disputes over tap quality often require third-party plug gauge calibration.
- Calibration process takes 3–4 weeks, delaying production decisions.
- Lack of timely feedback raises production and quality risks.
Unclear Decision-Making
- Operators lack clear criteria for determining if a thread plug gauge should be reused or scrapped.
- This uncertainty leads to overuse, increasing the risk of inaccurate inspections.
- Premature disposal of gauges raises unnecessary replacement costs.
Solution
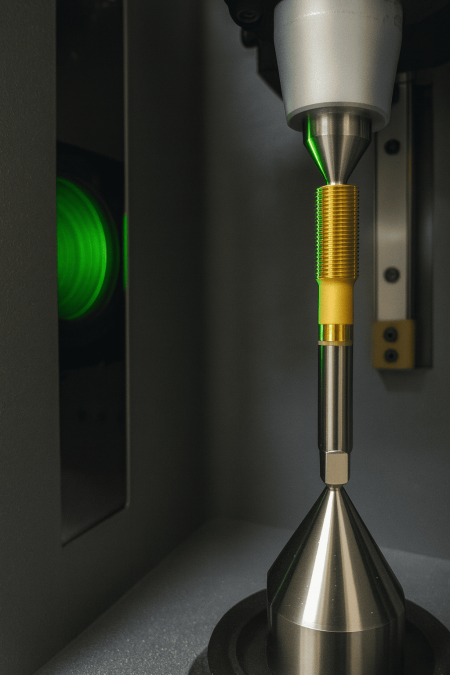
S Company deployed the USDV TIMI optical measurement system, enabling automated, high-precision inspection for plug and thread gauges.
Customer Feedback
“We upgraded plug gauges from simple pass/fail tools to quantifiable, predictive assets — now quality decisions are based on data, not guesswork.”~ Quality Manaager
| Metric | Before TIMI | After TIMI |
|---|---|---|
| Daily inspection volume | about 100 pcs / 8 hr | ~At least 2,000 pcs / 8 hr |
| Measurement repeatability | 0.003mm | 0.001mm |
| Wear inspection method | Primarily laboratory-based inspection | On-line, in-house self-inspection |
| Inspection record management | GO/NG analog output | Fully digital gauge life-cycle management |
Value Highlights
- Upgrade plug gauge inspection from manual judgment to AI-based automation.
- Significantly Reduce labor and third-party inspection costs.
- Implement digital gauge life-cycle management to prevent overuse or waste.
- Reduce third-party inspection costs and accelerate production decisions.
- Ensure thread quality through precise wear monitoring and earn customer trust.


